How to install a mechanical Seal
Here are some basic steps for installing a cartridge seal. These steps will vary depending on the type of seal and the pump technology it’s going into, but for this example these steps relate to installing a cartridge mechanical seal into Viking Pump’s 4124A Series™.
| 1. Place the seal installation sleeve into the shaft and lubricate the sleeve and shaft. | 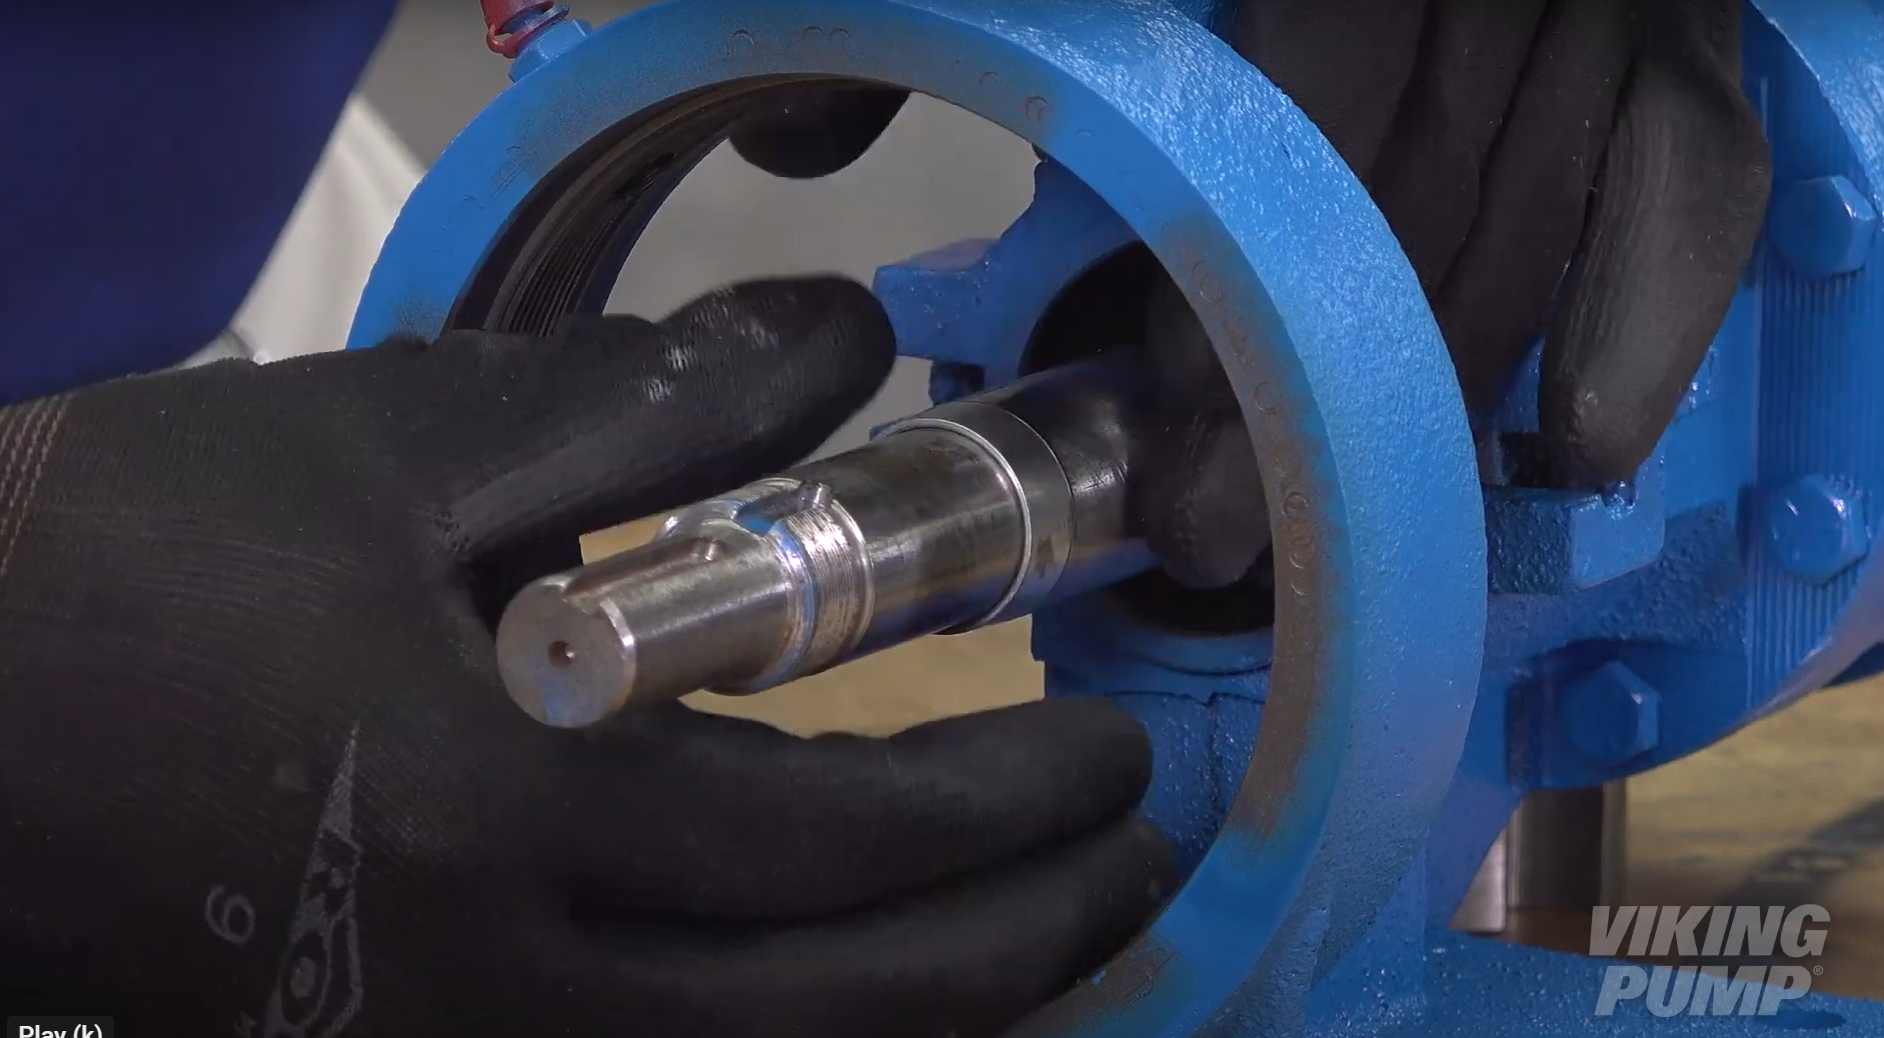 |
| 2. Slide the seal assembly onto the shaft and over the installation sleeve until the assembly contacts the bracket face. | 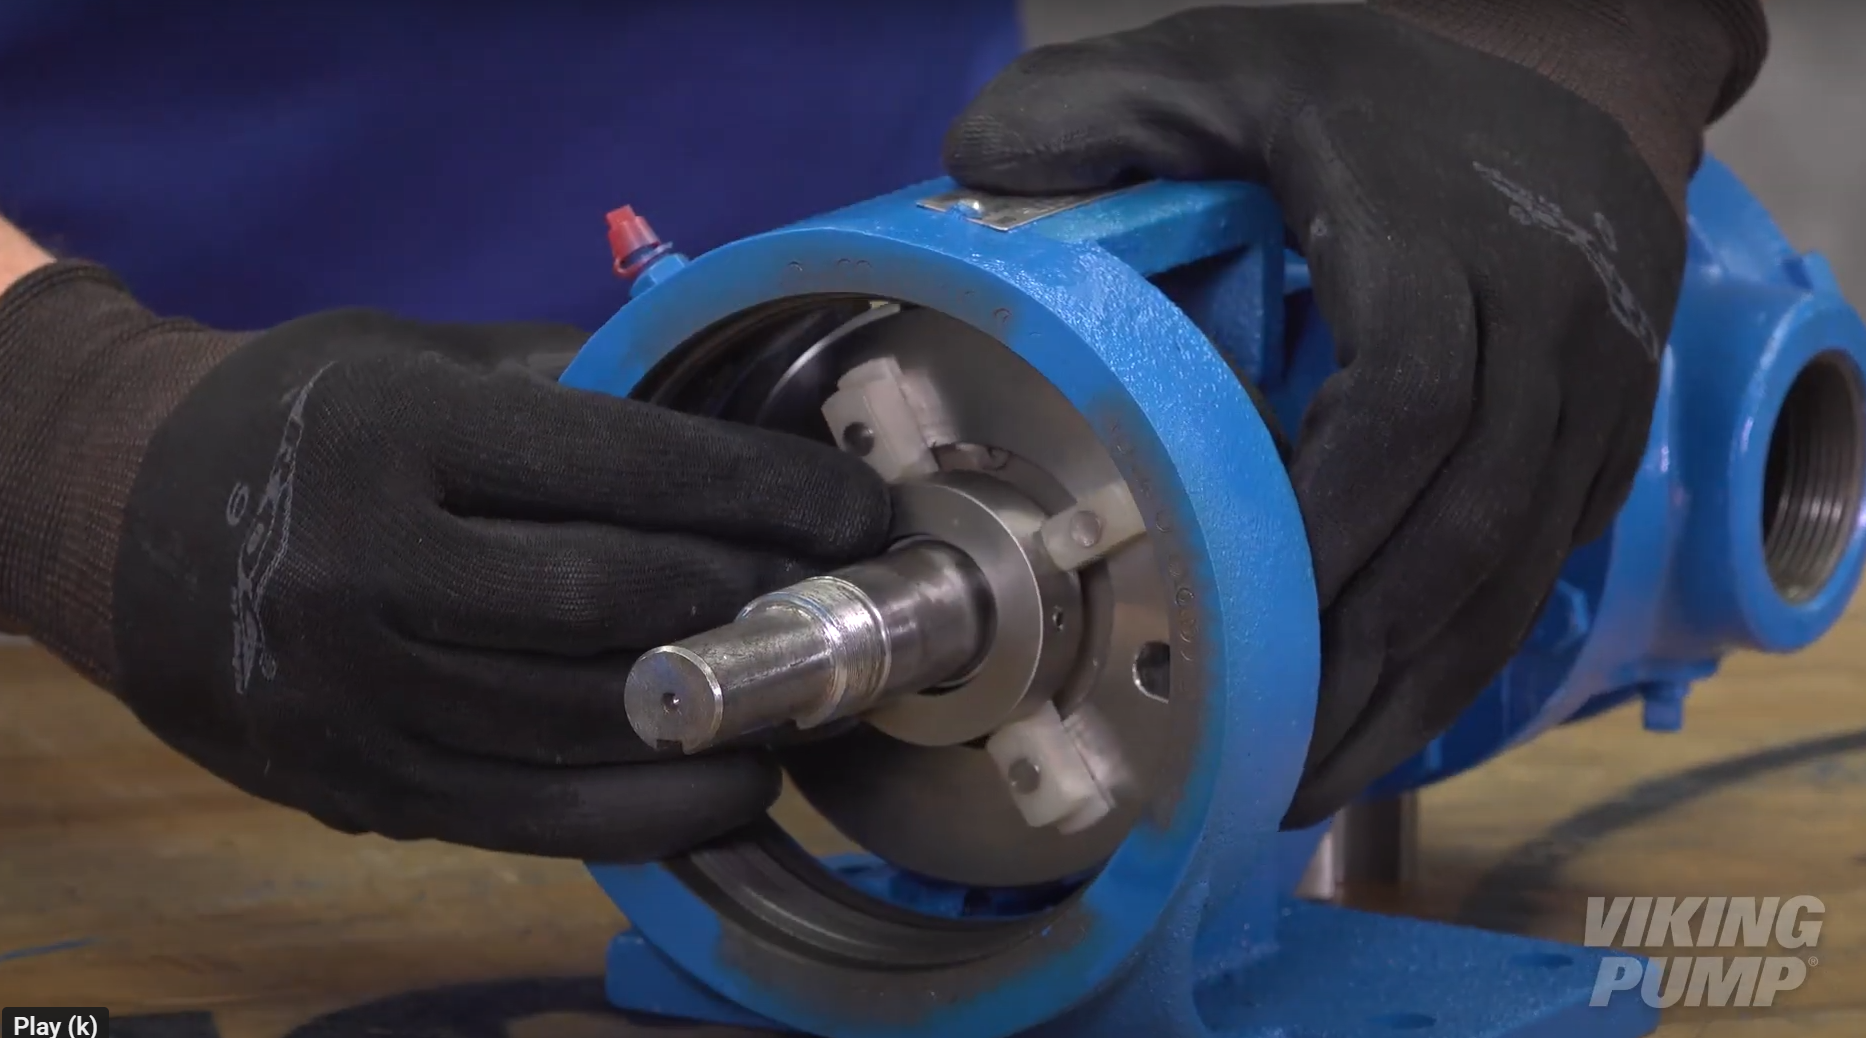 |
| 3. Remove the installation sleeve. | |
| 4. Reassemble the pump and set the end clearance. | |
| 5. Install the gland cap screws. Do not fully tighten at this time. | 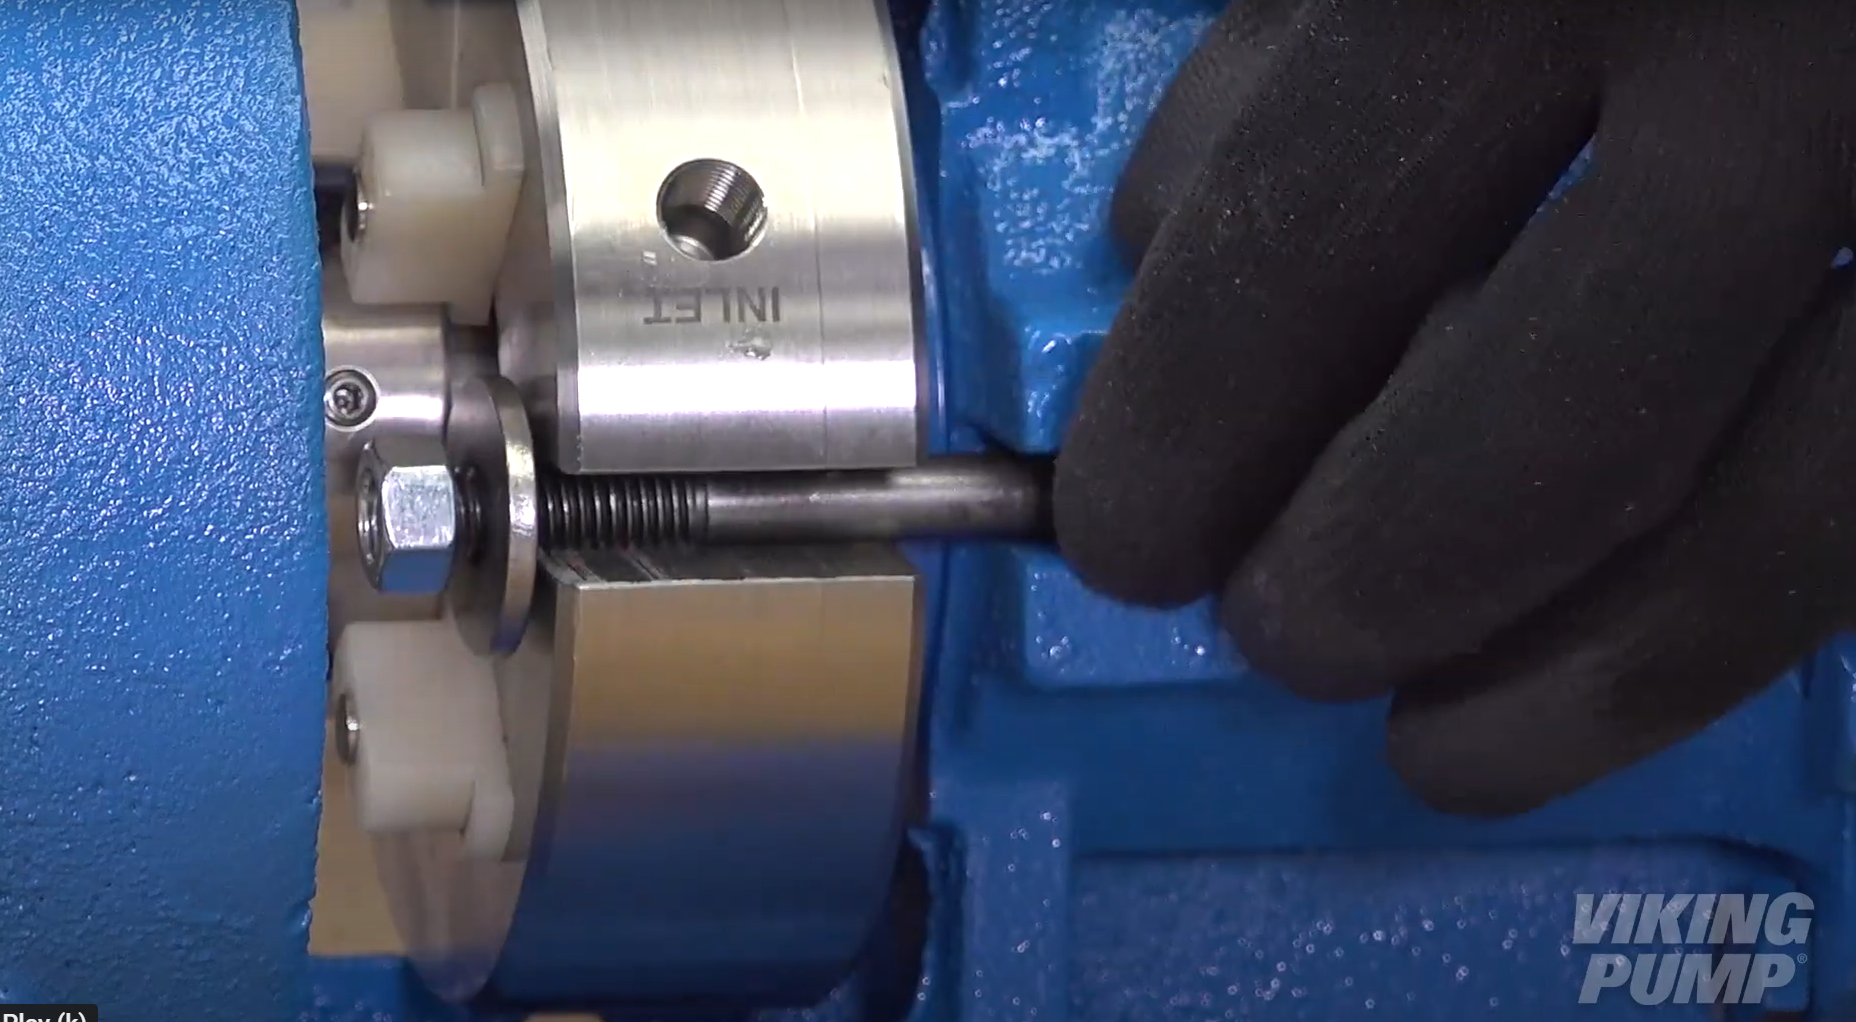 |
| 6. Turn the shaft several times to center the seal. | |
| 7. Tighten the cap screws tight enough to compress the seal gasket. | |
| 8. Evenly tighten the seal sleeve set screws to set the collar to the shaft. | 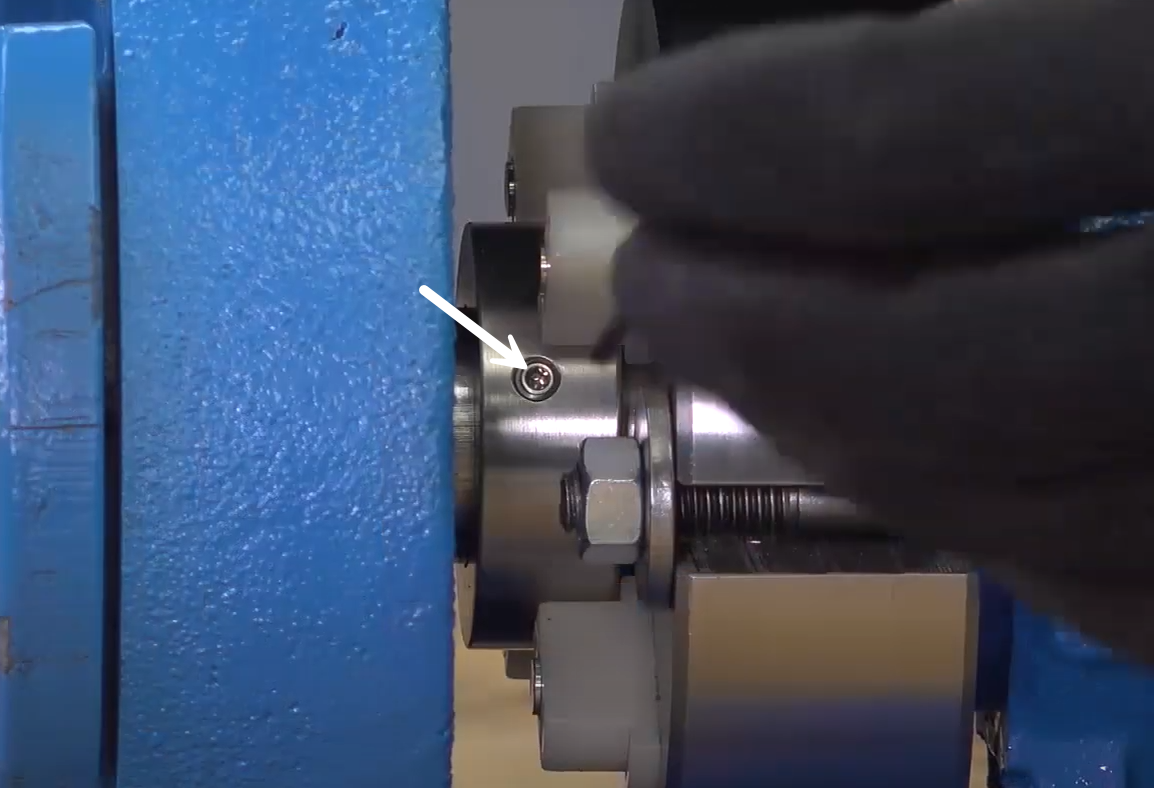 |
| 9. Rotate or remove the seal spacers and check rotation. | 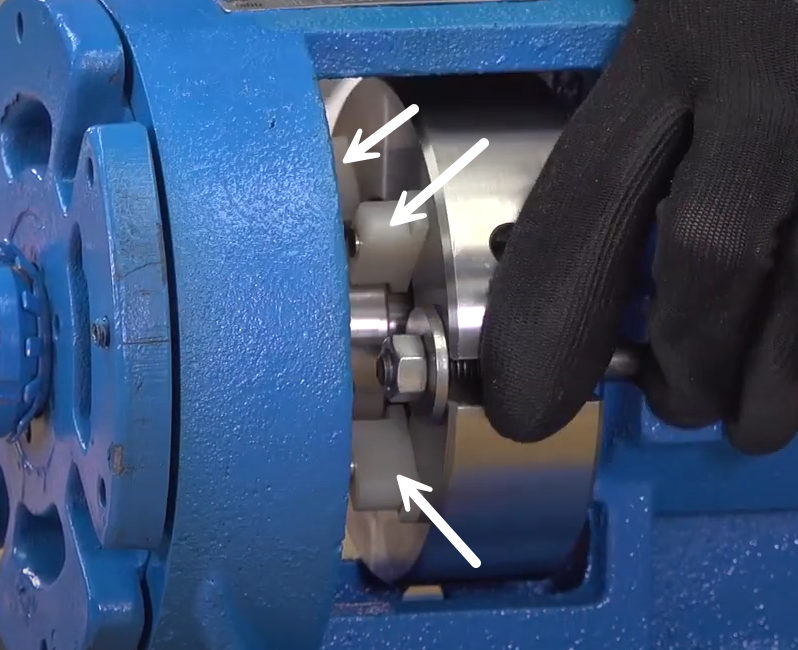 |
| 10. Reconnect seal plan or plug unused connections. | |