| 1. Install the tapered seal installation sleeve onto the shaft. Make sure the shaft is free of debris or wear that could damage the seal. |
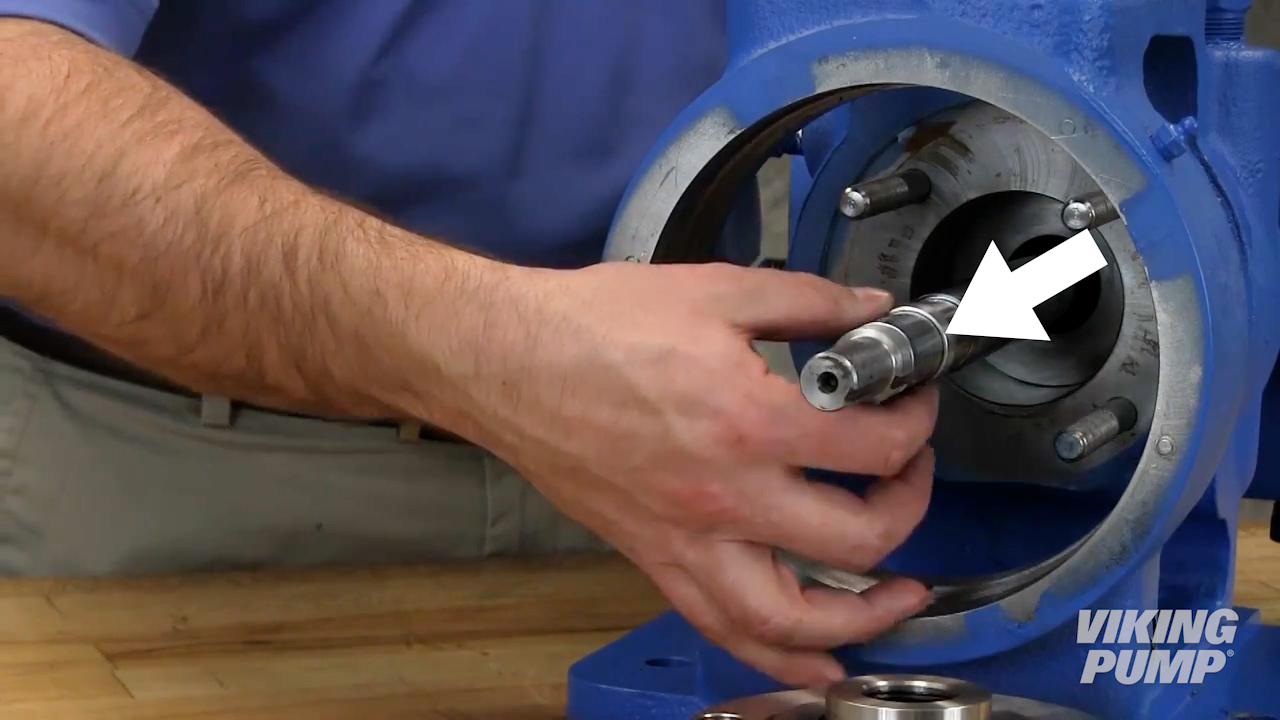 |
| 2. Lubricate the shaft, installation sleeve, and the inside of the rotor member of the seal with a generous amount of light oil. |
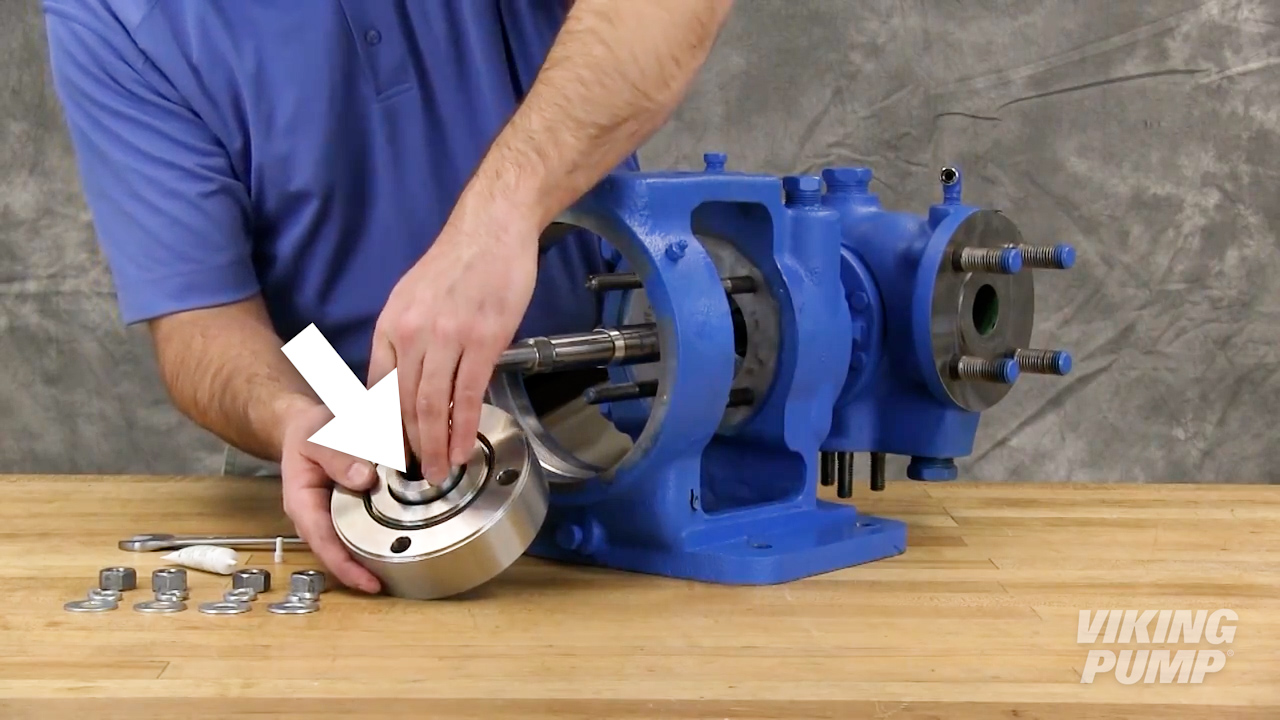 |
| 3. Install the seal onto the shaft making sure the flush port is at the 12 o’clock position. |
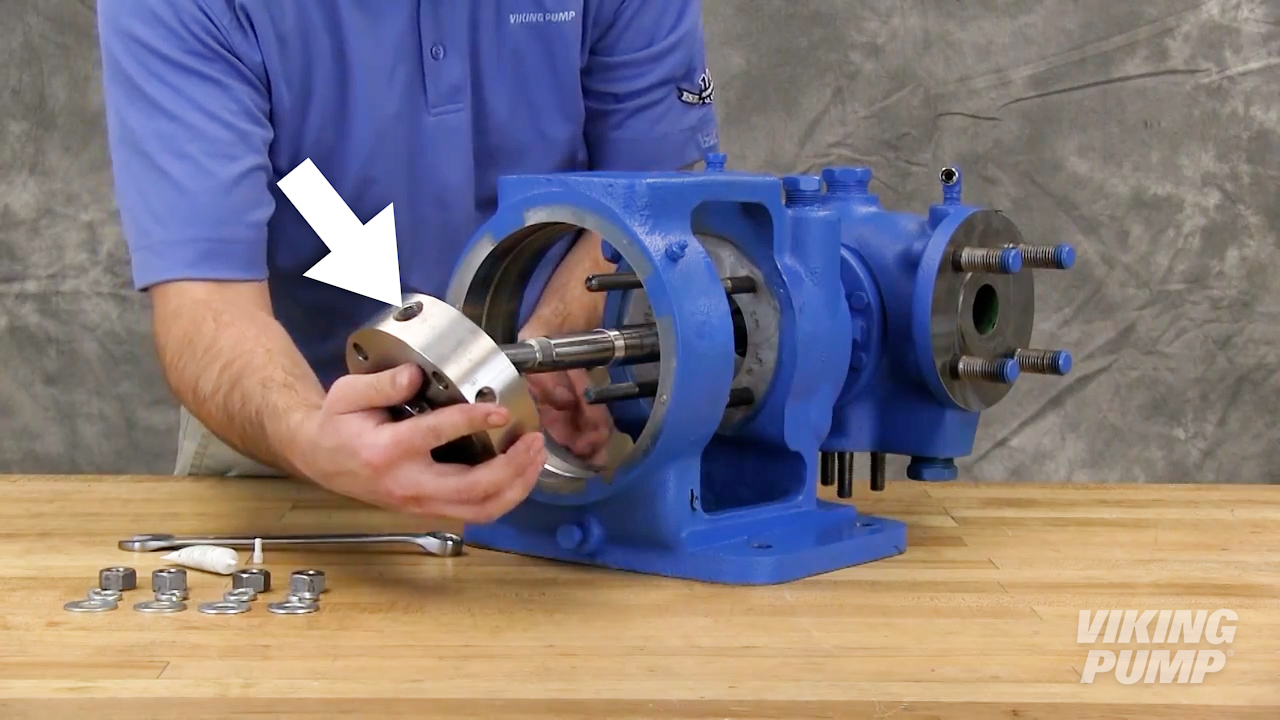 |
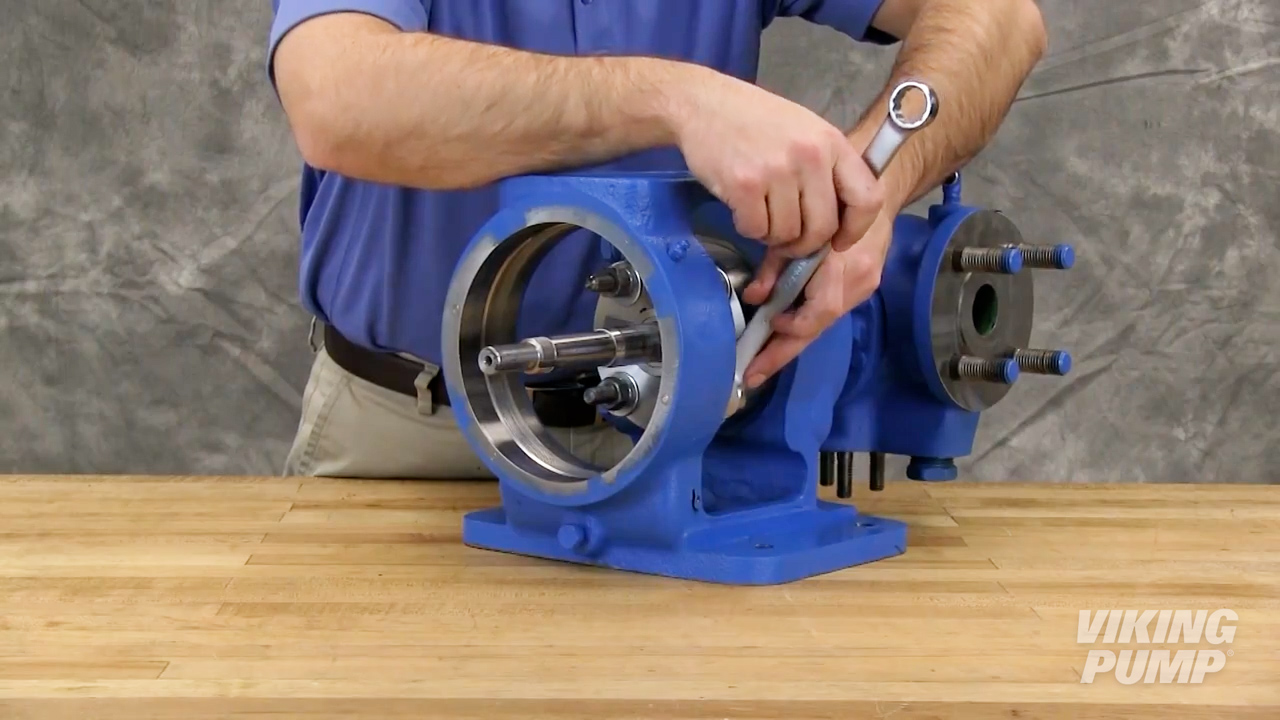
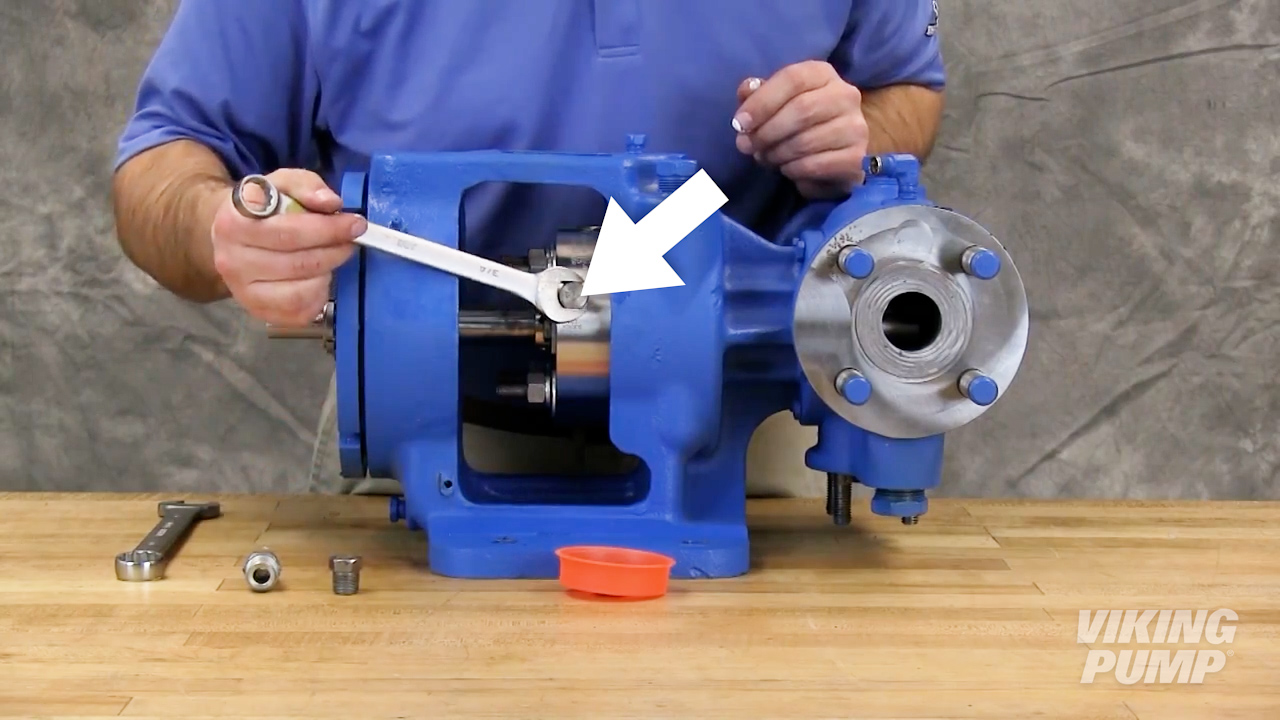
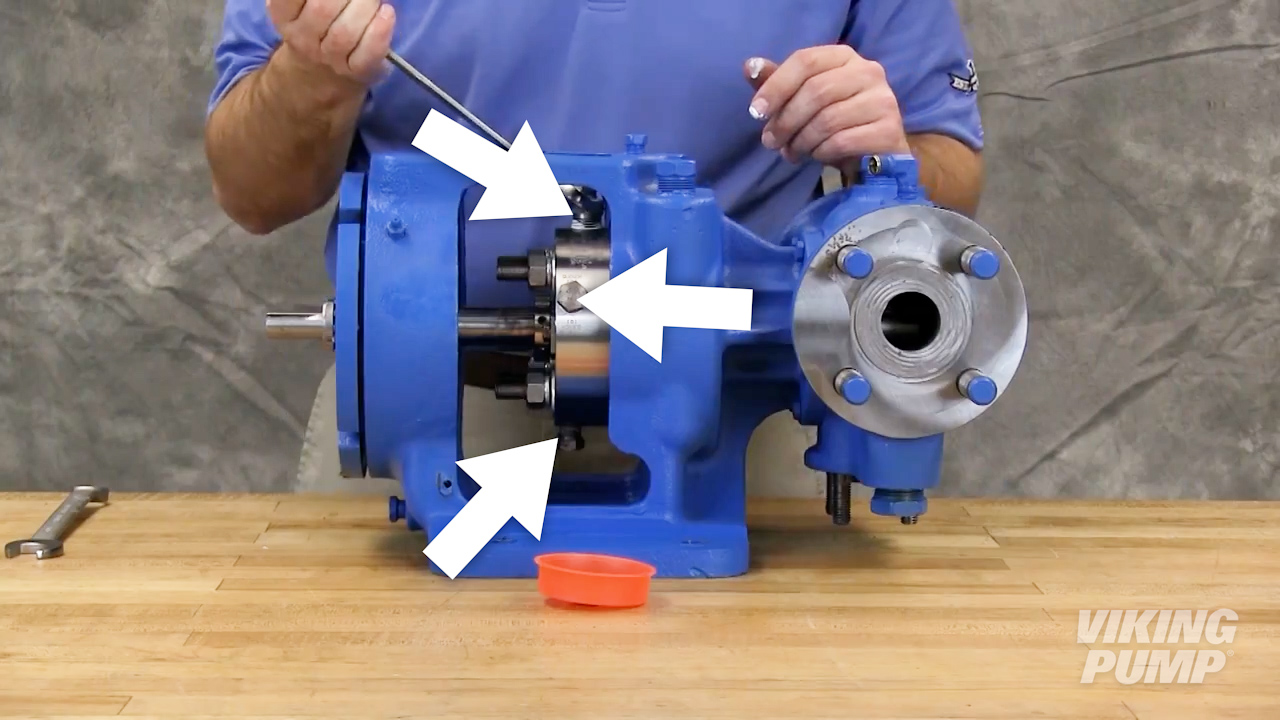
| 4. Secure the seal gland to the bracket face using the proper hardware. |
 |
| Complete the rest of the pump assembly. Once end clearance for the pump is set you may proceed to final seal installation steps. |
| 5. Once end clearance is set, tighten the set screws on the cartridge seal drive collar |
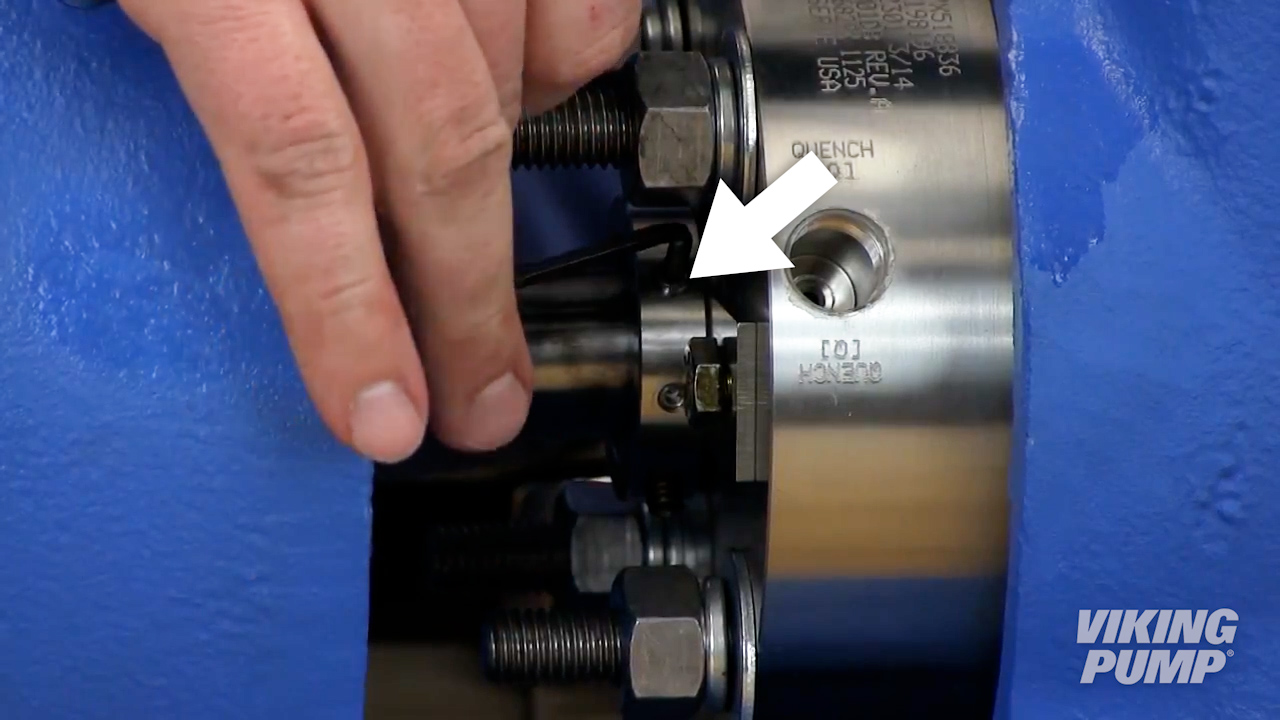 |
| 6. Remove or turn the centering clips to clear the seal drive collar. |
 |
| 7. Ensure the pump turns freely. |
 |
| 8. Install seal plugs or piping plan, using the appropriate sealing compound, into the seal gland. |
 |
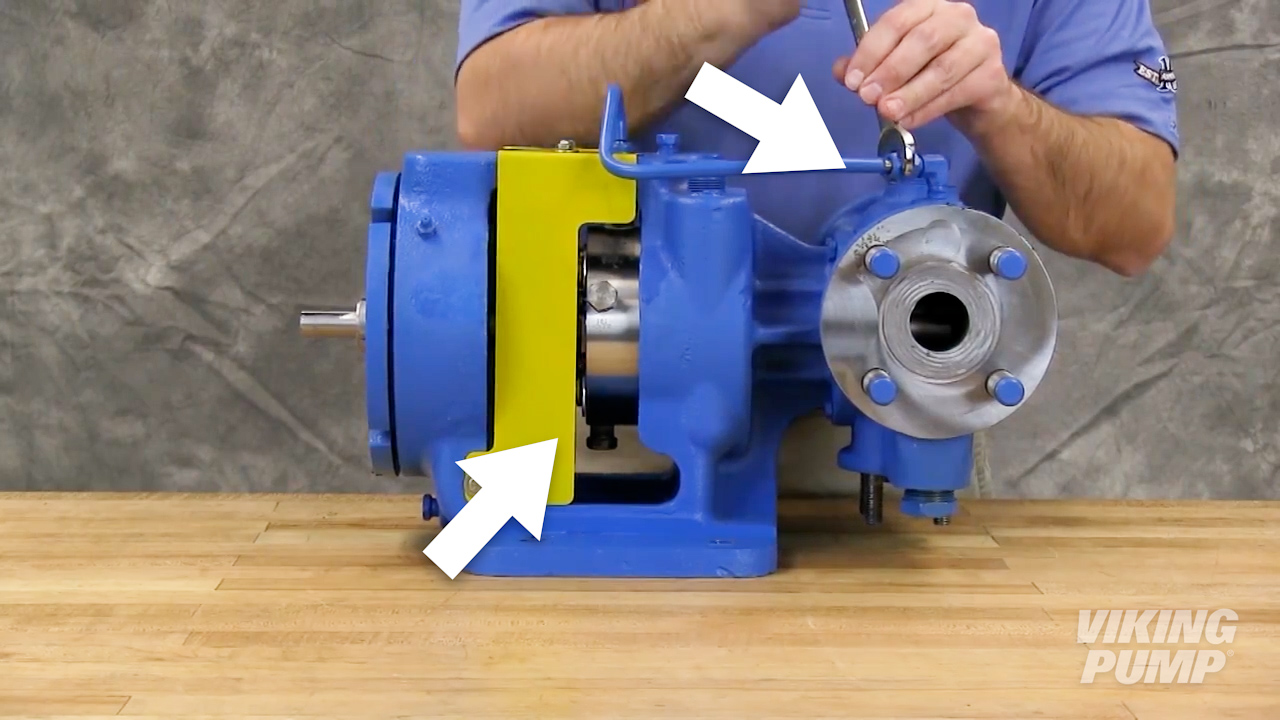
| 9. Install guards and barrier fluid lines as needed. |
 |